
You stepped on a longboard expecting to glide, and instead felt the deck wobble the moment you picked up a little speed. Longboarding for beginners comes down to three things: whether the board suits how you want to ride, how you stand on it, and whether you can stop. Get those right and the first month goes much more smoothly.
What Longboarding Is and How It Differs From Skateboarding
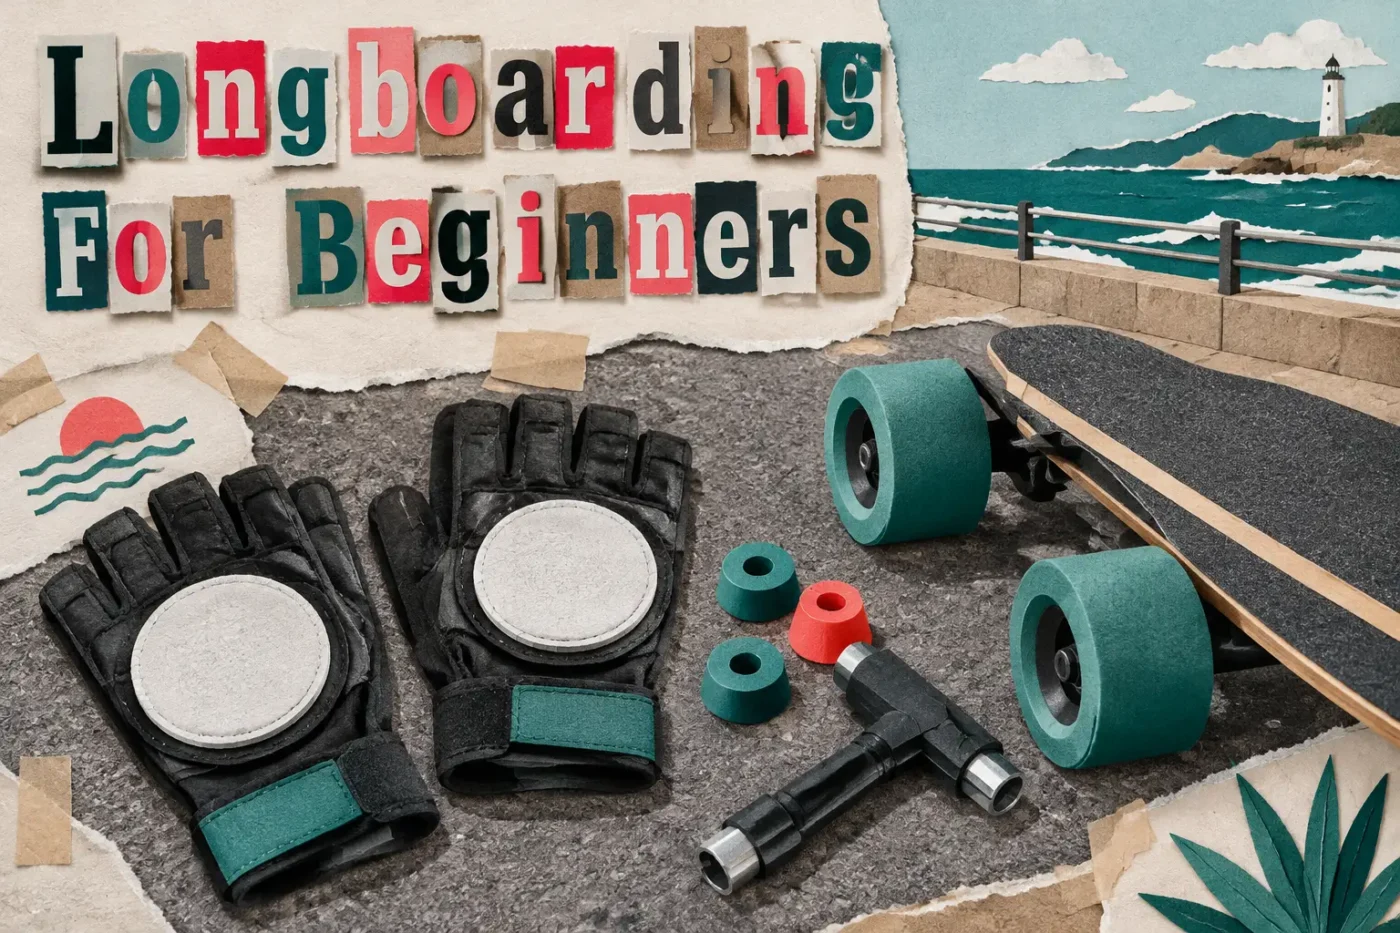
A longboard generally uses a longer, wider deck and larger, softer wheels than a street skateboard. That makes it smoother over cracks and rough pavement, and it feels more relaxed underfoot. The trade-off is that steering and stopping work differently, so tricks and habits from a small street deck don’t carry over directly. Think of it as a different tool built for travel, not for flipping and grinding.
Deck shapes and what they are built to do
Cruiser-style decks are compact and easy to carry, which suits getting around town. Freeride and downhill-oriented decks are usually stiffer and more stable for speed and controlled sliding. Dancing boards are very long, which gives room to walk along the deck and move your feet while rolling.
Cruising, carving, downhill and freeride in plain terms
Cruising means rolling along at an easy pace on flat paths. Carving is making long, S-shaped turns to control speed and have fun. Downhill is riding slopes at speed, and freeride adds controlled sliding. As a beginner, start with cruising and carving, and leave the other two until you can stop reliably.
Choosing a Beginner-Friendly Longboard Setup
The first real decision is board type, and it should follow how you plan to ride. If you mostly want to cruise or commute, pick a comfortable cruiser-style deck. If you’re drawn to hills and sliding, a more stable freeride-style deck makes sense later, but it is not the best first board for flat-ground learning. Choosing for your actual riding saves you from buying twice.
Deck length, width and flex for first-time riders
Longer and wider decks give you more room for your feet and a more stable feel. Flex changes the ride too: a stiffer deck feels steadier at speed, while a flexier one absorbs vibration and gives some spring when carving. For a first board, moderate flex is forgiving on rough pavement, and a stiffer deck is worth considering if you expect to ride faster.
Trucks, wheels and bearings that keep the ride stable
Trucks and bushings control how the board turns. Looser setups carve more easily but can feel wobbly at higher speeds, while tighter setups feel more planted. Beginners usually do best with a slightly firmer setup that you can loosen as your balance improves. Larger, softer wheels roll over cracks and small stones more smoothly, and clean, free-spinning bearings help you hold speed without constant pushing.
Safety Gear and Preparation Before Your First Ride
Falls happen while you are learning, so gear matters from day one, and more so once you add speed. Put it on before every session, even short ones on flat ground. A quick check of your board takes under a minute: make sure the trucks are snug, the wheels spin freely, and nothing rattles loose.
Helmet, pads and slide gloves
A properly fitted helmet is the first priority; it should sit level and stay put when you shake your head. Wrist protection comes next, because instinctively putting a hand down is the most common way beginners get hurt. Slide gloves and knee and elbow pads become important when you start going faster or practicing slides.
Picking a safe, smooth practice spot
Look for flat, smooth, quiet ground with no traffic, such as an empty paved path or a quiet car park. Avoid gravel, wet patches, drain grates and busy foot traffic. Pick somewhere with plenty of open room so you have space to roll out and stop without a hard decision.
Core Skills to Learn Step by Step
Learn these skills in order, and do not skip ahead to hills. Each one builds on the one before it. Spend a few short sessions on each rather than one long, tiring session.
Stance, balance and getting on the board
Place the board on grass or carpet first so it can’t roll away. Step on with your front foot just behind the front bolts, angled slightly forward, and keep your knees soft. Your back foot sits near the rear bolts, turned a little sideways. Stand on the stationary board and shift your weight between toes and heels until it feels steady, then try rolling slowly.
Pushing, steering and carving
With your front foot set, push with your back foot using smooth, low strokes, then place it back on the deck. Keep your shoulders facing the direction you’re going. To steer, lean gently through your toes or heels instead of twisting the board. Link a few gentle turns into S-shaped carves, which also teaches you how to scrub off speed.
Stopping with foot braking
Most beginners stop by dragging a foot on the ground. Shift most of your weight onto your front foot, then lower your back foot flat onto the pavement beside the board and press down gradually. Practice at walking speed on flat ground, then slightly faster on a gentle slope. Learn to stop reliably before you try slides or downhill riding.
Common Beginner Mistakes and How to Progress Safely
Most early problems come from a handful of habits that are easy to correct. Wobble, tense legs and a hesitant stop are all fixable once you know the cause. Fixing them one at a time works better than trying to correct everything at once.
Fixing wobble, fear of falling and poor foot placement
Wobble at speed often comes from stiff knees, a loose truck setup or feet placed too far apart. Bend your knees, tighten the trucks slightly and check that your feet are over the bolts. Fear of falling makes you stiffen up, so practice stepping off the board on purpose at low speed and landing on your feet. If you do fall, tuck your arms in and roll instead of reaching out with your hands.
Simple routines for building confidence over time
Short, regular sessions work better than occasional long ones. A simple routine is a few minutes of pushing, a few carves each way, then several foot-braking stops before you pack up. Add one small challenge at a time, like slightly more speed or a gentle slope, and move on only when the current step feels easy. Cruising and commuting on flat paths is a good way to log hours while building control.
Related guides
- Skateboard Tricks for Beginners: Ollie, Manual and Kickturn
- Skateboard Parts Explained: Deck, Trucks, Wheels, Bearings
Frequently Asked Questions
What kind of longboard is best for a beginner?
A comfortable cruiser-style deck is a good starting point, especially if you want to ride flat paths and quiet streets. It is easy to handle and forgiving to learn on. Choose a stiffer, more stable freeride-style deck later if you move toward faster riding.
Is longboarding easier than skateboarding?
For cruising and travel, many people find it easier because the longer deck and soft wheels feel more stable and roll smoothly over rough ground. It is not simpler in every way, though, since steering and stopping work differently and speed brings its own risks. The two sports use different skills, so neither fully prepares you for the other.
How do you stop on a longboard as a beginner?
Most beginners stop by dragging a foot on the ground, which is called foot braking. Put most of your weight on your front foot, lower your back foot flat beside the board, and press down gradually. Practice at walking speed on flat ground first, then try it on a gentle slope. Slides and downhill riding come only after you can stop reliably.
What safety gear do you need for longboarding?
At minimum, wear a properly fitted helmet and wrist protection every time you ride. Knee and elbow pads add protection while you learn, and slide gloves matter once you start going faster or practicing slides. The more speed you add, the more the gear matters.
Conclusion
Longboarding for beginners works best when you pick a board that fits how you want to ride, wear the right gear, and learn the skills in order: stance, pushing, carving, then foot braking. Practice on smooth, quiet ground and add speed only once you can stop reliably. Short, regular sessions build control faster than occasional long ones.
Keep the first few weeks simple and the progress will come at its own pace.